Have you ever wanted the look of a professionally decorated Christmas tree? Have you wondered how to create that look? Well, read on you “tree-decorator-you”—you’re about to find out! 😊
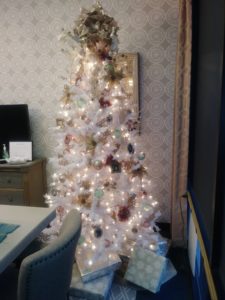
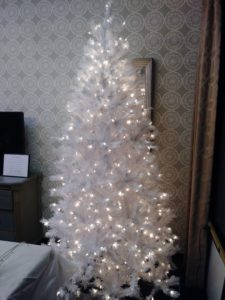 In the KP Designs studio, we have an artificial tree, so the first step is the unbox, set up, and “fluff” the tree. You fluff the tree by separating the branches and individual stalks to give a full, more realistic look and shape. This takes a little bit of time, so put on your favorite music and get to it!
Our studio tree is also pre-lit, a must-have in our books. But…if you must string lights, you can do so by starting at the top and working your way around the tree in a clockwise fashion, pausing to wrap around the branches to secure the strands. An alternative to this is to run the strands vertically up and back down, again stopping to wrap branches. Lights, color, and amounts are a total preference thing…but unless you are going for a rustic look—more is always better! As with lighting in general, LED is the way to go, either soft or bright light, depending on your fancy.
Next, the fun really begins!
Pro tip: We know it’s very ceremonious to “put the tree topper on a fully decorated tree last”. But, before you sway all those ornaments to secure your star/angel/wire bow, consider putting it on first! This way you can secure it well to the top without dropping anything or redoing your hard work. In the studio, we have two big bows plus ribbon streamers that are put on first and worked through the branches.
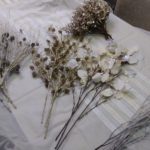
 Start with a base color/theme/look. This is best achieved with “florals” of some type—berry branches, leafy branches, poinsettias, or something. Just stick them into the tree, the stalks will get hidden the more you layer. You may need to shorten/cut the stems the closer you get to the top of the tree, so they don’t stick out of the tree. These can be any “color theme” you like, such as red, red & green, gold & silver, etc. Use two or more for this “base”, for example, berry stalks and poinsettias in your color of choice. At the studio, we like a “natural”/soft metallic look to work with the colors of the room where the tree will be. We used a few different styles for our base, to add a lot of texture!
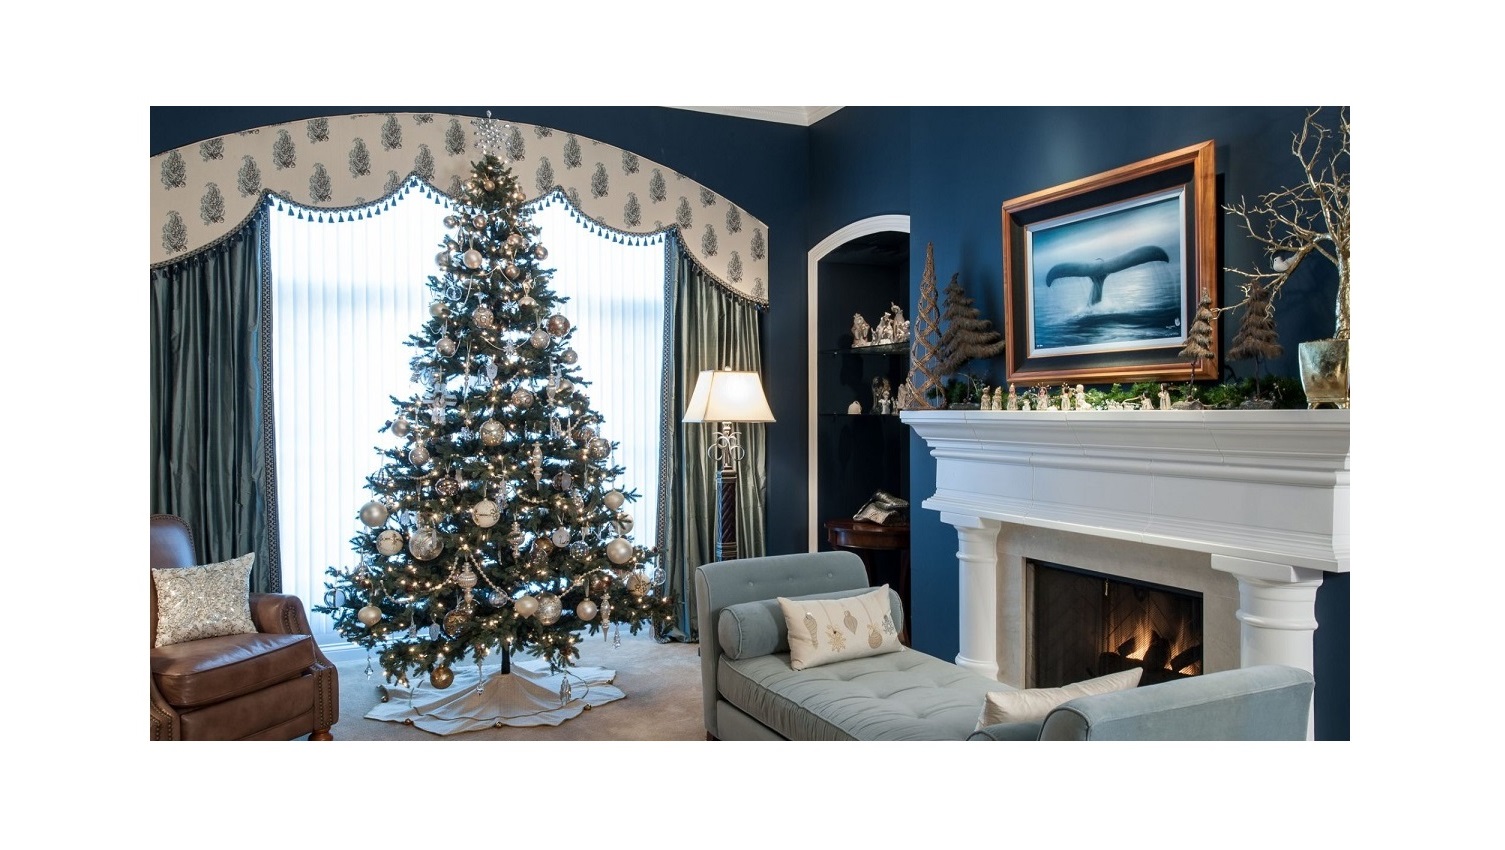
Pro tip: Tree colors that are the same as your room colors are a great choice. If your tree colors are “holiday traditional”—make sure they complement your room color palette.
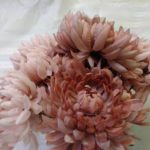
 After your “floral base” is added to the tree, next go for “color”. This can be more florals (they are SO easy!) and/or bulb ornaments. Pick your colors (the studio tree has a blush-y pink, just like our nearby drapery panels and art) plus our famous “Tiffany blue” accent color. We added in blush pink flowers, and two different types of pink ornament balls. We also added in some silver to add bling and neutralize the look. Then added were Tiffany blue/light aqua ornaments.
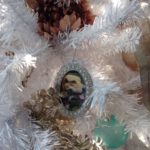 Lastly, the personalization! Now that you have your designed base of a tree to set the stage, it’s time to add in the personal ornaments, memories, keepsakes, heirlooms, even any “paper/glitter/popsicle stick” hand made ornaments from the children! This is what is most treasured about our trees and–they look great on a well-designed “backdrop”! In the studio, we have framed photo ornaments of our team members, including our beloved designers’ dogs!
Once it’s all done, put your tree skirt down or better yet, wrap-around fabric, a glittery tablecloth, or furry blanket. Sit back and admire your fabulous work!
Happy Holidays from KP Designs!